
How Best To Start Seeds Indoors
How Best To Start Seeds Indoors
Jan 11, 2023
Starting seeds indoors has many advantages. It promotes better and earlier harvests. It is also a great way to enjoy long-season crops in a short season.
If you are new to starting seeds indoors, this article will be very helpful. We’ll take you through a step to step guide on how best to start seeds indoors.
How To Start Seeds Indoors
Starting seeds indoors is not a difficult task. There is no need for the installation of any fancy equipment or lights to get started. You also don't need to read any lengthy gardening book to learn how to start seeds indoors.
All you need is to follow a few steps and have basic supplies to grow your seeds indoors quickly and easily. The following are some benefits of sowing seeds indoors:
- Seeds are cheaper than plants. If you grow your seedlings you will save a lot of money.
- If you don’t start seeds indoors, you have to buy seedlings which includes the risk of getting poor-quality ones. Similarly, when you grow seeds at home you will know that they have been raised organically instead of sprayed with chemicals.
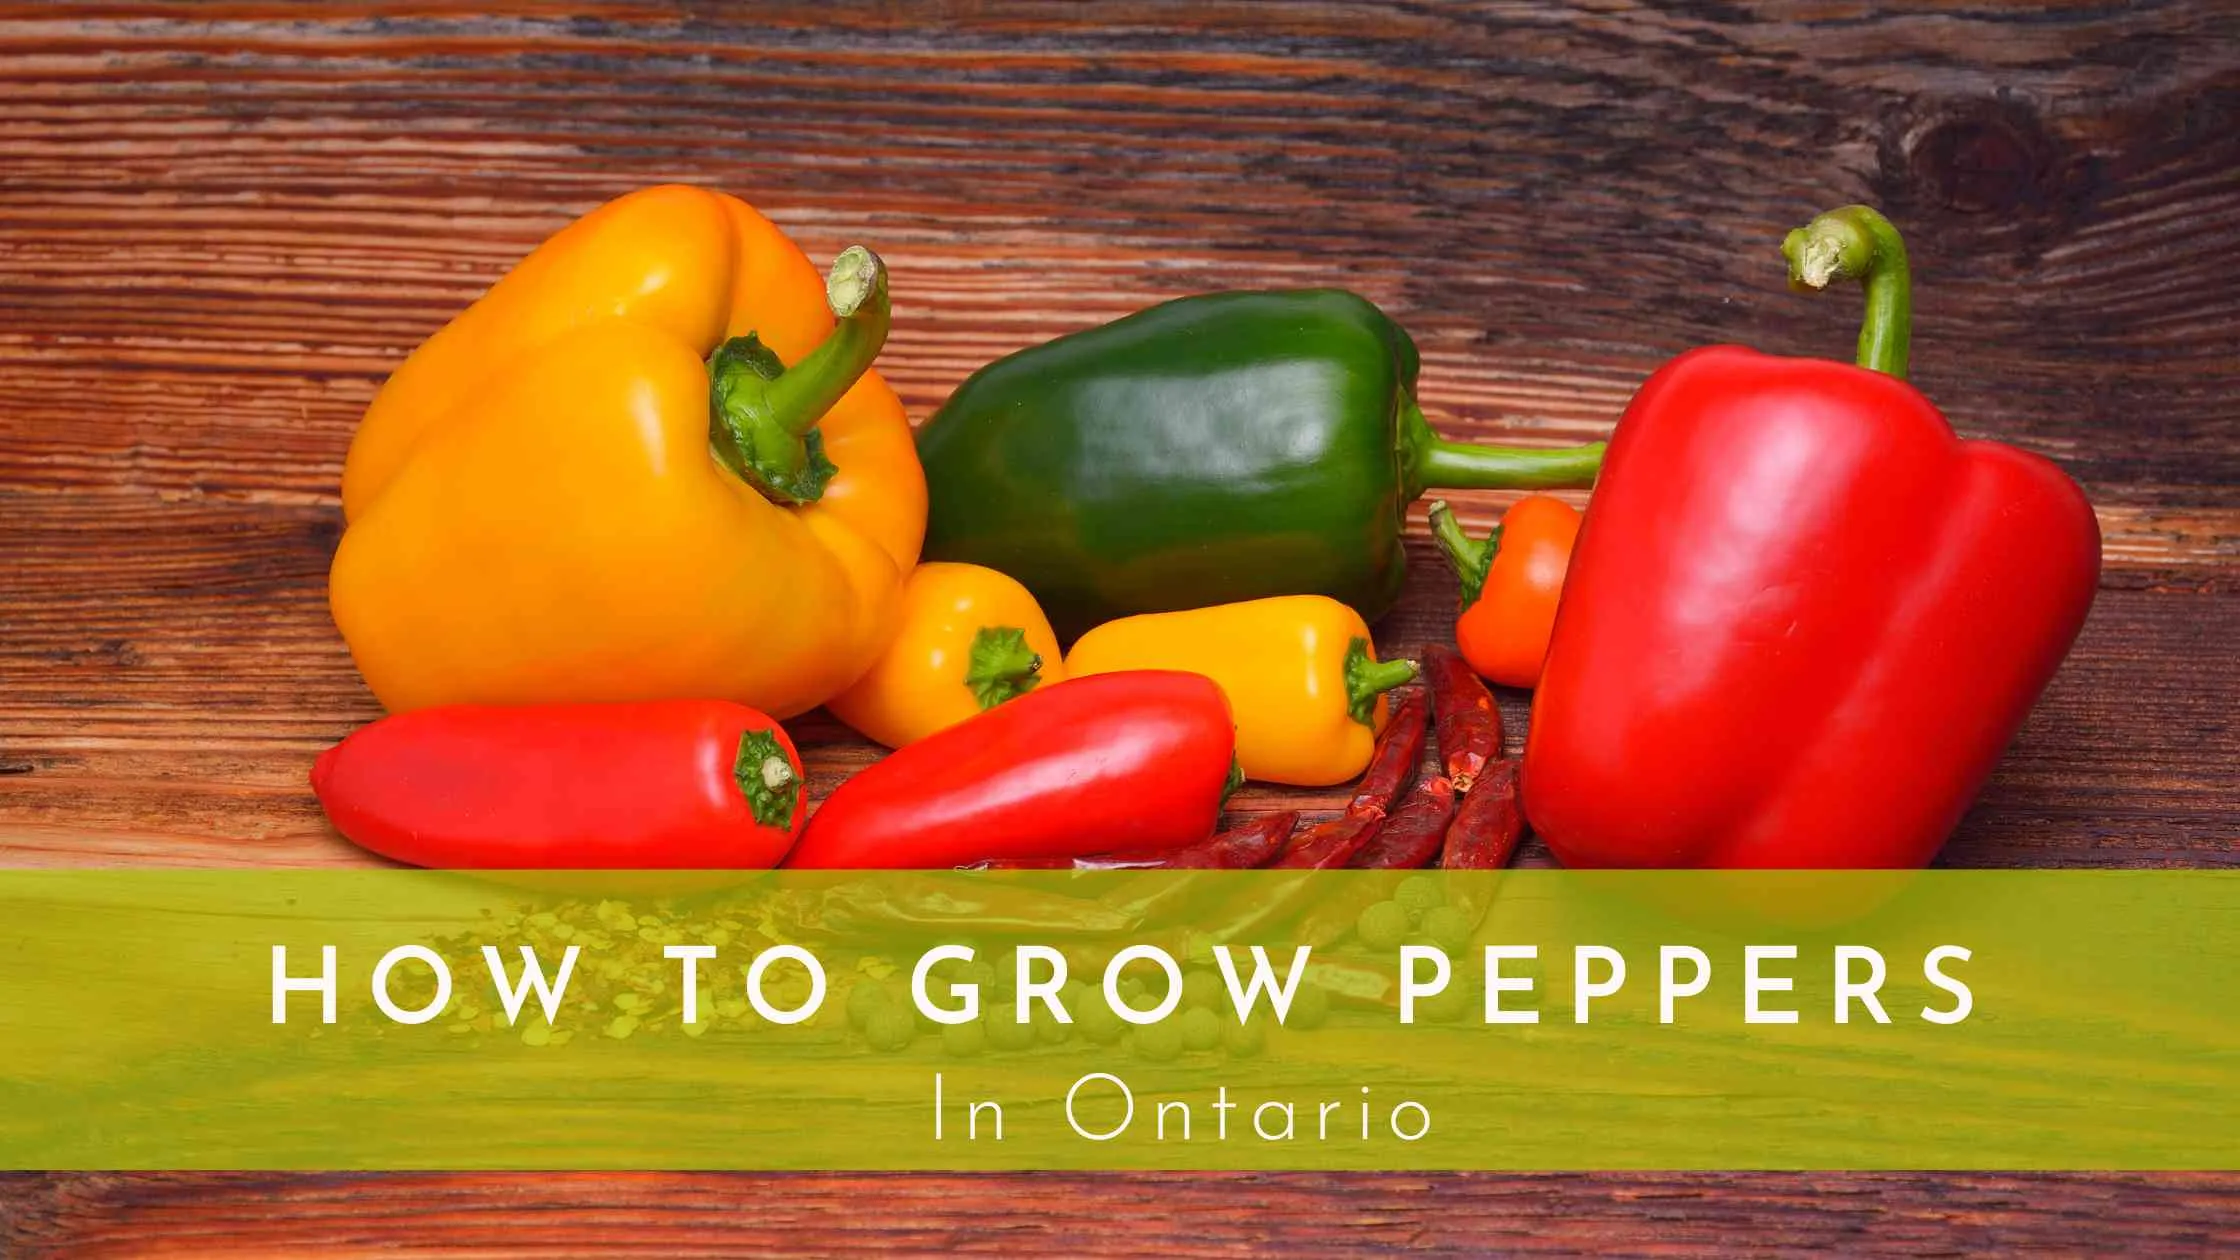
- Growing seeds indoors is necessary for some plants like eggplants, tomatoes, and peppers. In many regions like here in Brampton, Ontario, the climate is not favorable for these plants to be started outside. Therefore, you should start them indoors to give them more growing time and allow you to have a harvest.
- Starting seeds indoors in warmer regions, allow you to get more crops before summer.
After learning so many benefits of starting seeds indoors, it is hard to resist starting your own. Here is a step-by-step guide for beginners to start seeds indoors:
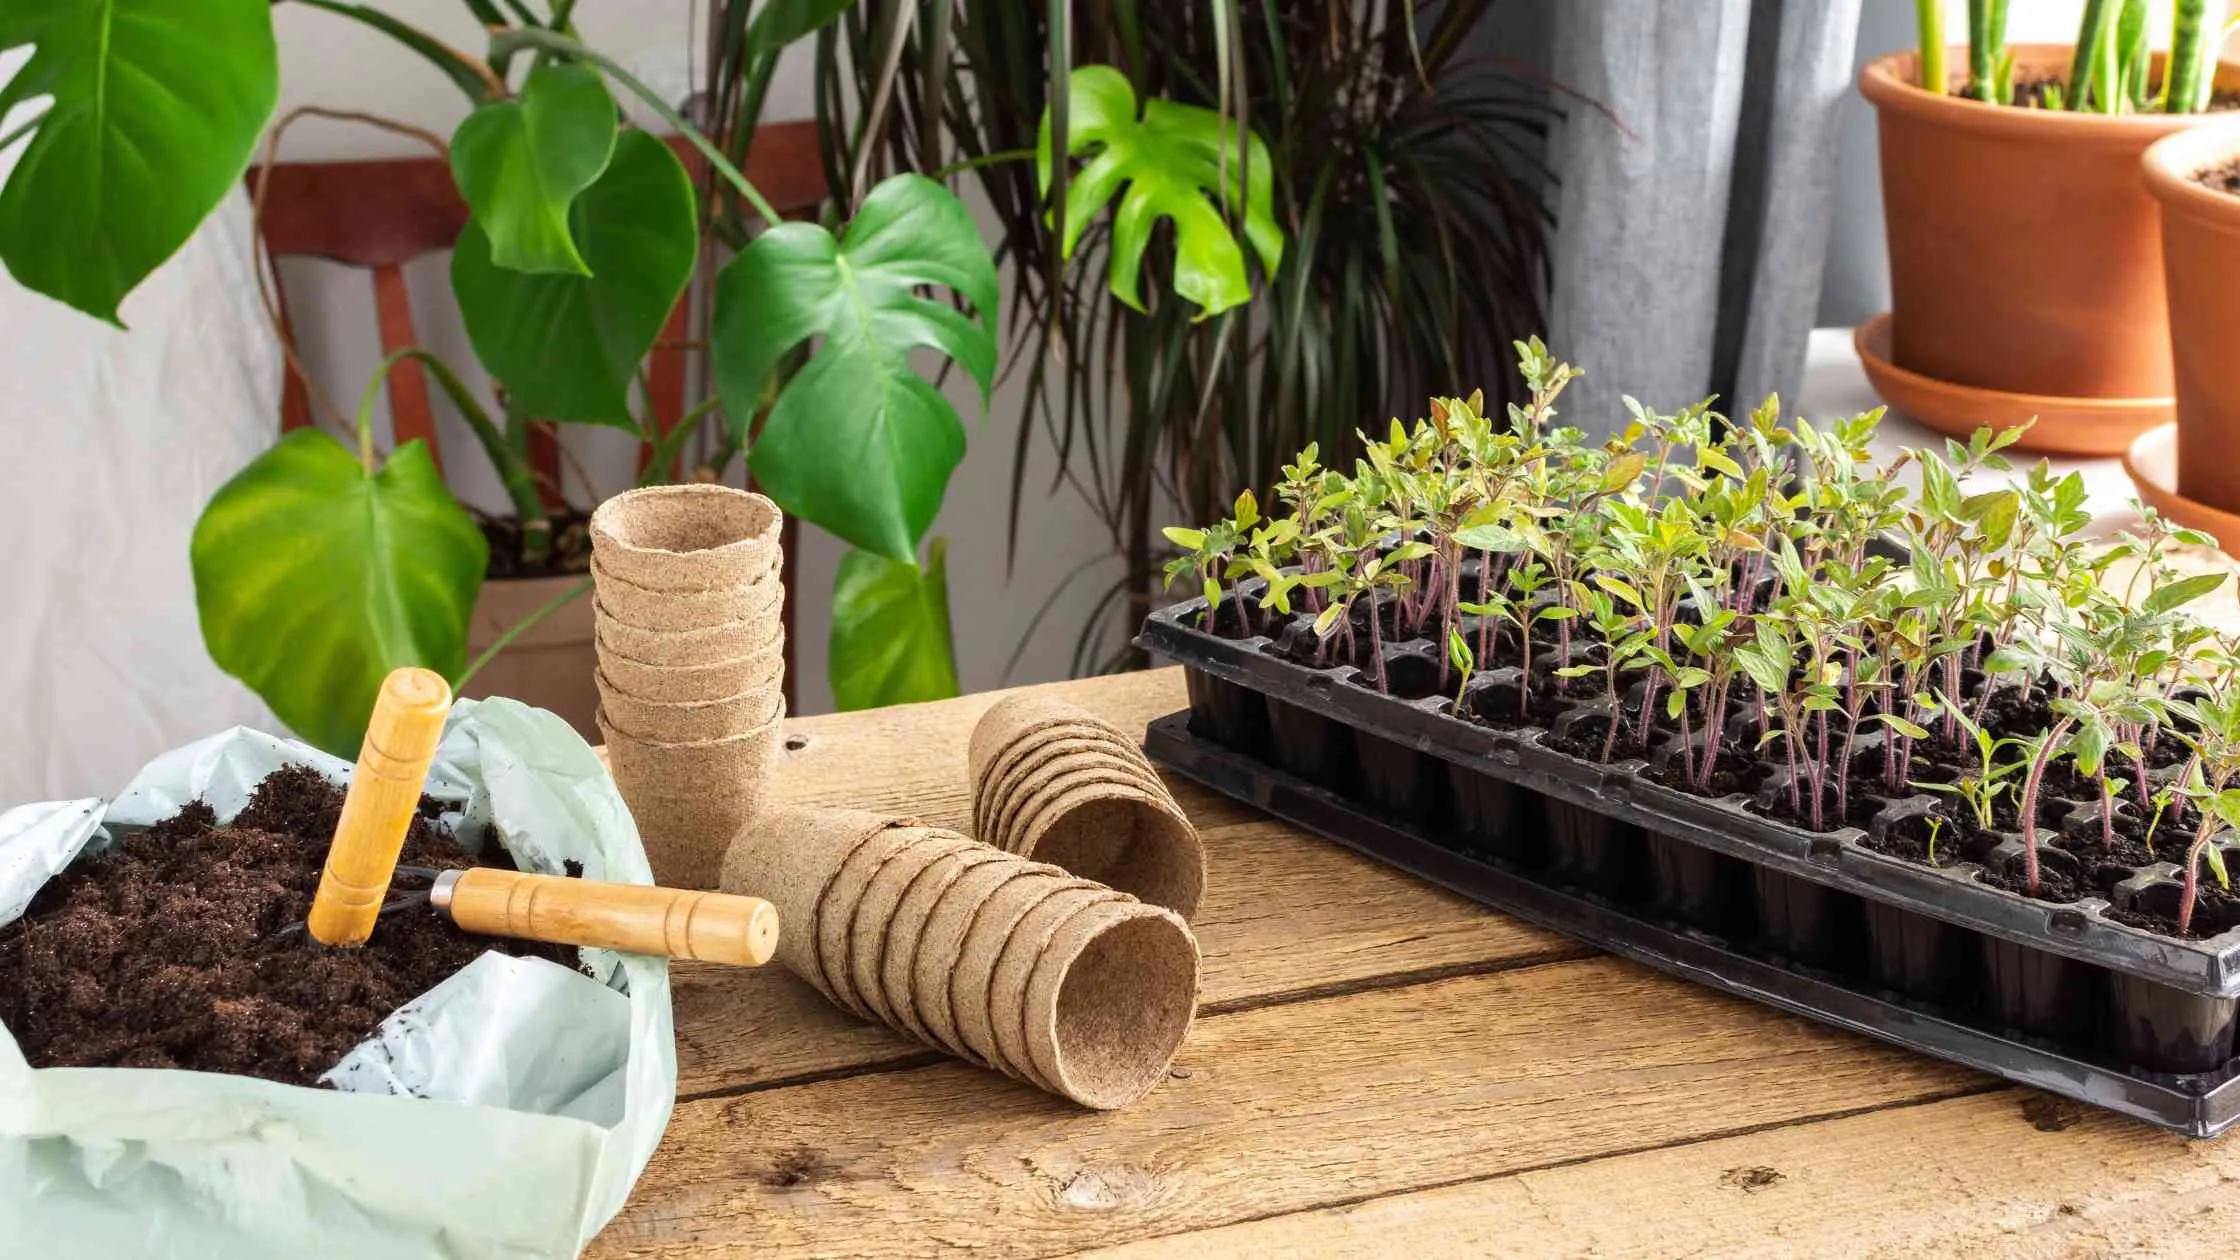
Get Your Seed Starting Supplies
Before starting seeds indoors, you should have all the essential supplies. The following are some basic supplies you'll need for starting seeds indoors.
- Seed-starting pots or cell trays
- A sunny window
- Plant markers
- Seed starting mix
- Spray bottle or squirt bottle filled with water
- A humidity dome for your seed tray (plant tray or propagation tray)
Another alternative to a seed tray is using a drainage tray covered with plastic wrap. You can make pots out of recycled newspaper or other household items such as egg cartons, Dixie cups, or yogurt cups to start your seeds.
After selecting the pot, make a few holes for drainage in the bottom of the pot using a nail. Whatever pot you are using, make sure that it is clean and dry.
Prepare Your Seed Growth Medium
Loosen and moisten the potting mix before putting it into the seed starting trays. In this way, you get an equally moisturized mix. You can poke your fingers in the mix or squeeze it in your hand to check moisture. The mix should feel wet with no dry lumps.
How To Prepare The Seed Starting Mix
Add the seed starting mix into a large tub or bucket. Now pour some water in it and stir well with your hands or a trowel. When the moisture is absorbed into the mix, it's time to add some more water.
The absorption by peat-based seed starting mixes can be a slow process. Continue adding water until you get a uniformly damp mix that feels like wet sand.
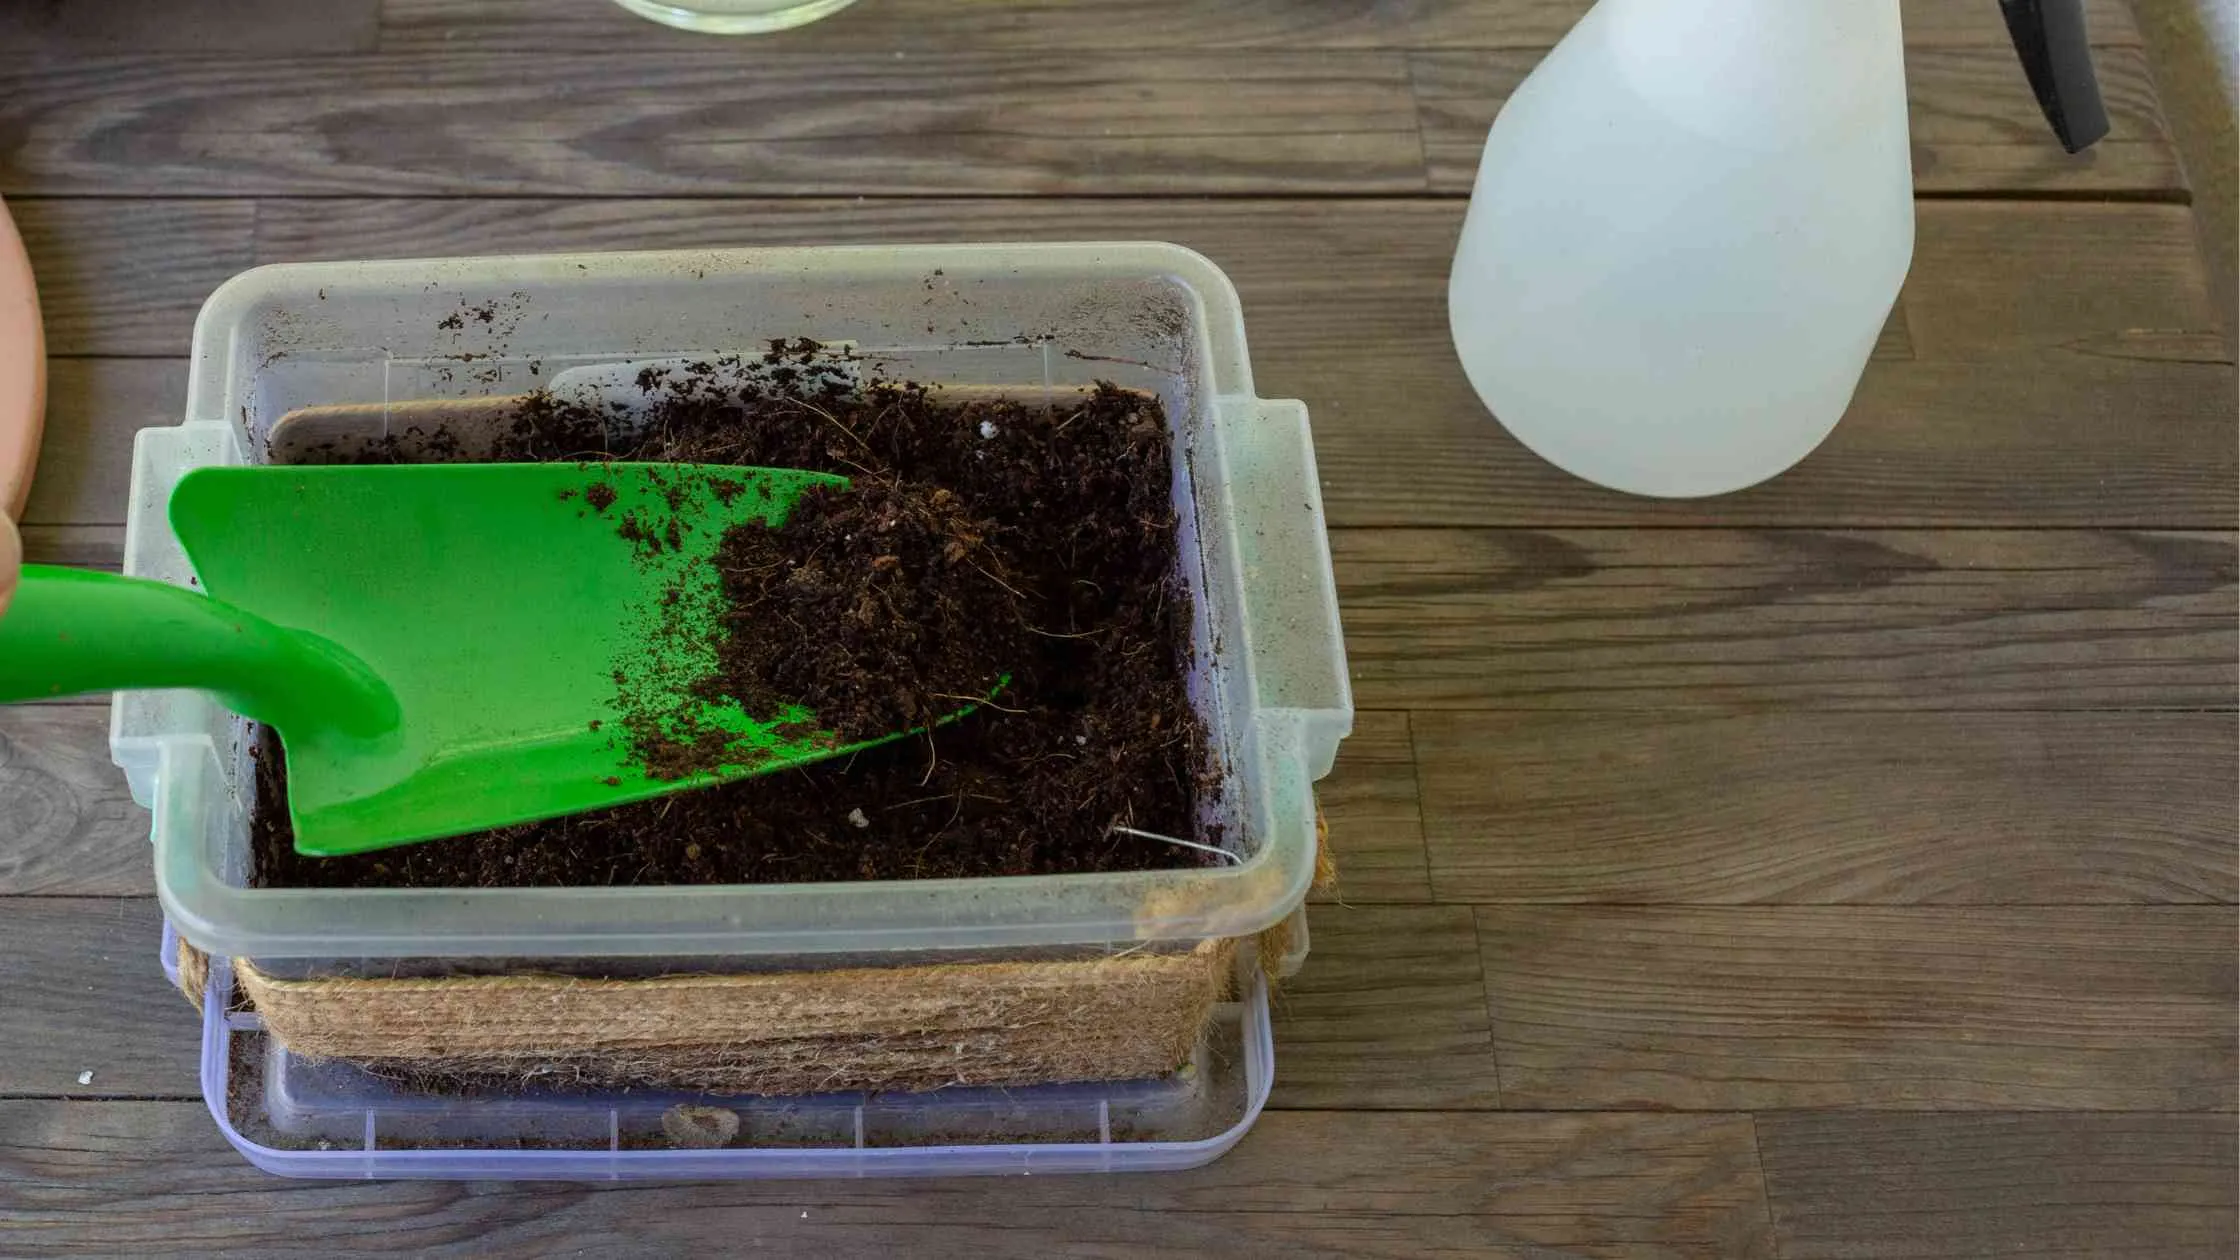
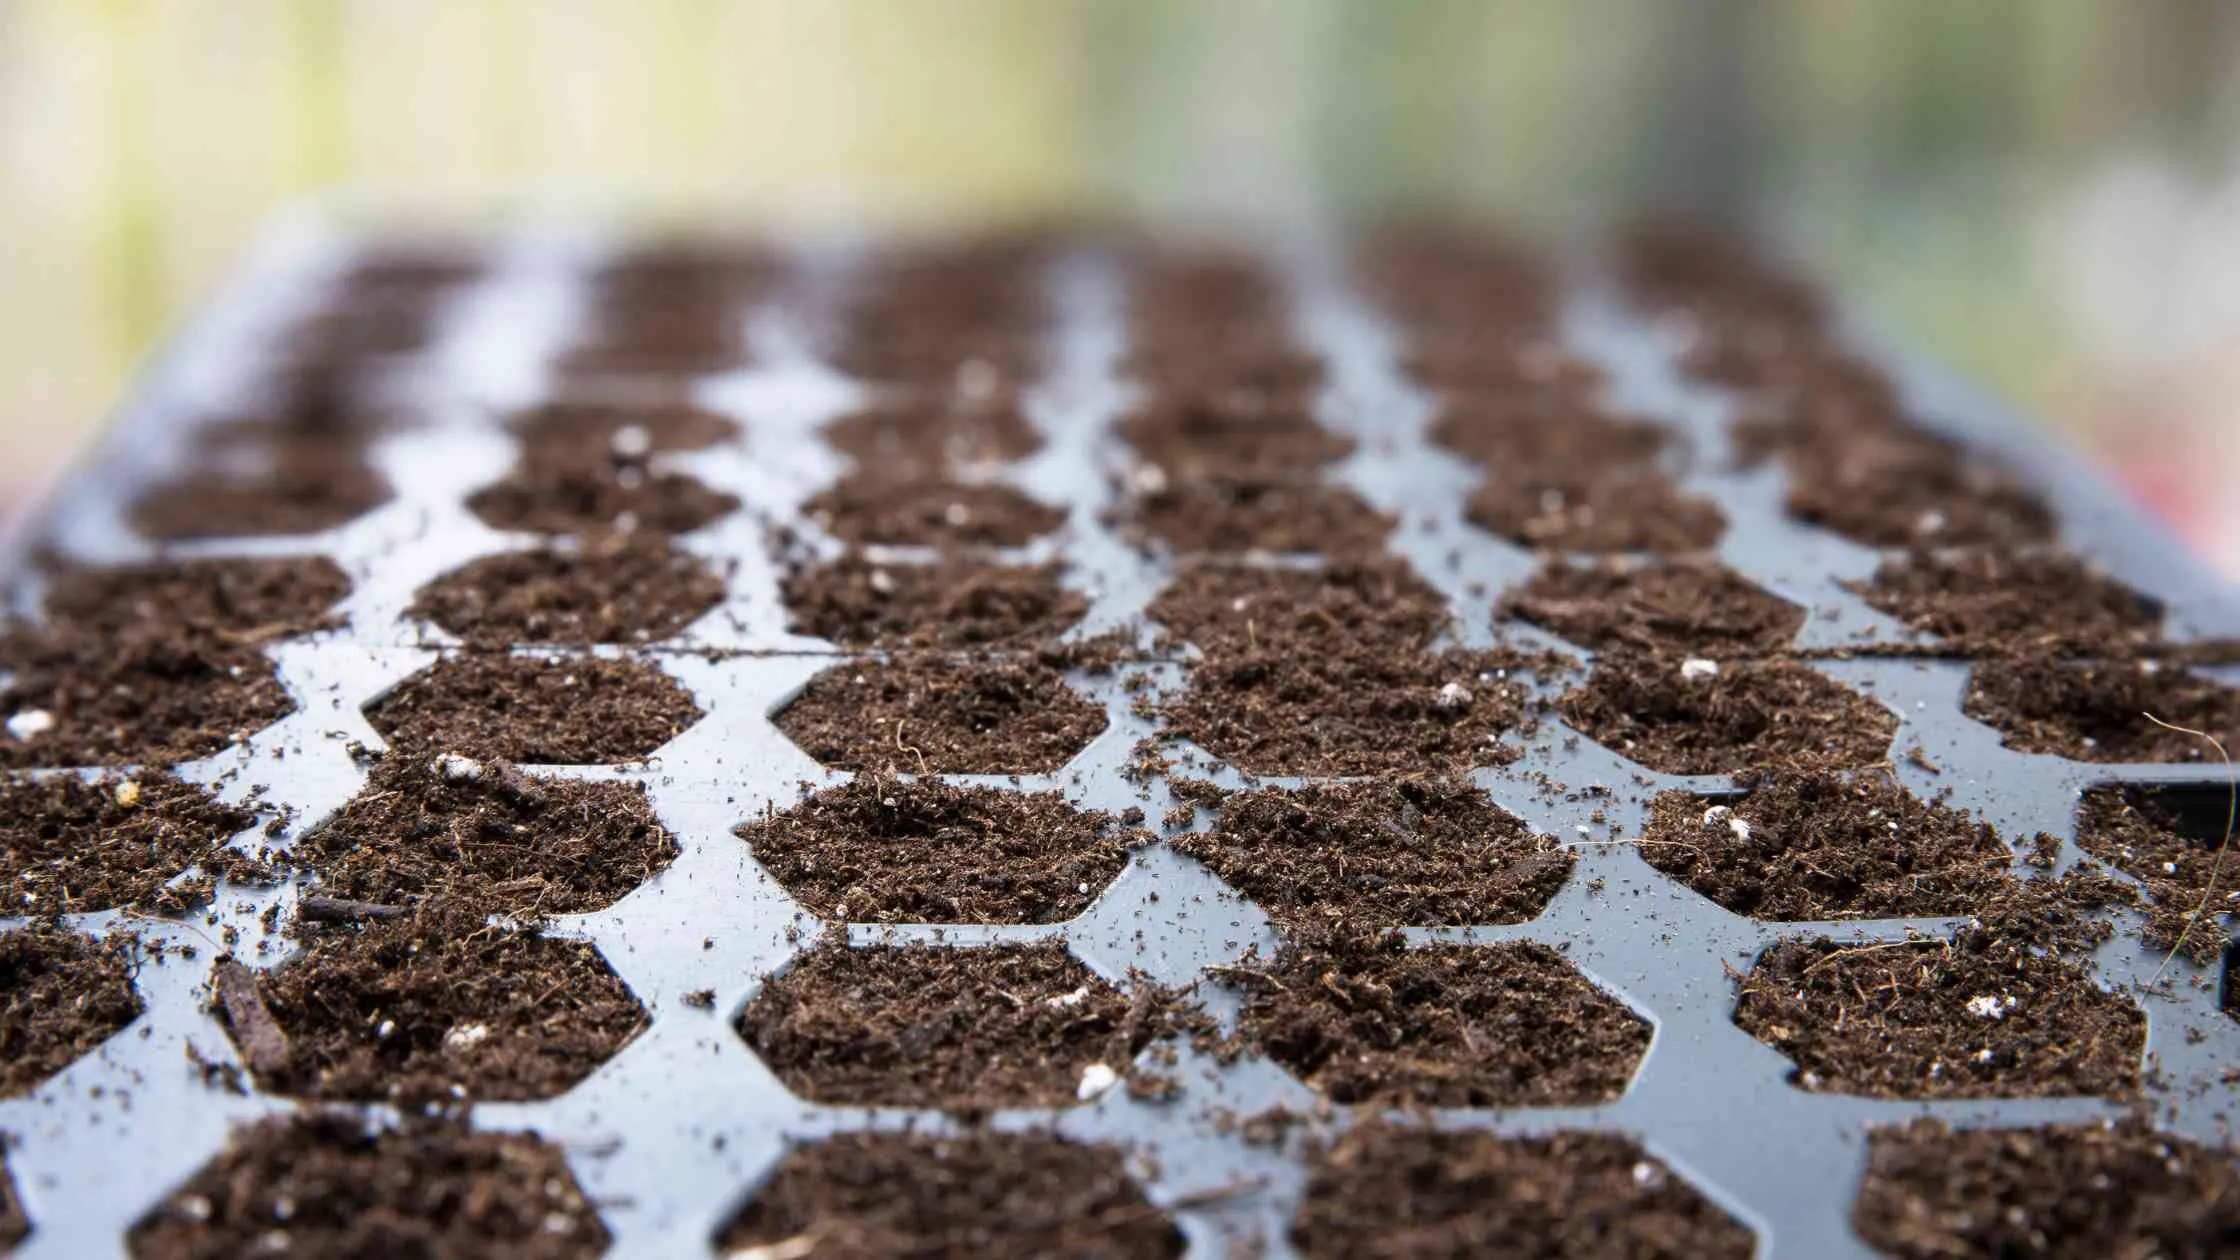
Fill Your Trays With The Seed Starting Mix
Now, fill your seedling pots with this pre-moistened seed starting mix.
Using clean hands, or a trowel, take some of the prepared soil and place it on the trays or containers. Make sure you press the soil down to make sure that the container is filled with soil.
You want to fill your seed starting container with the prepared soil, but you don’t want to compact it. The soil should be filled to the top of each tray cell/container because as the soil nutrients are used, the level of soil will contract and become lower in the container.
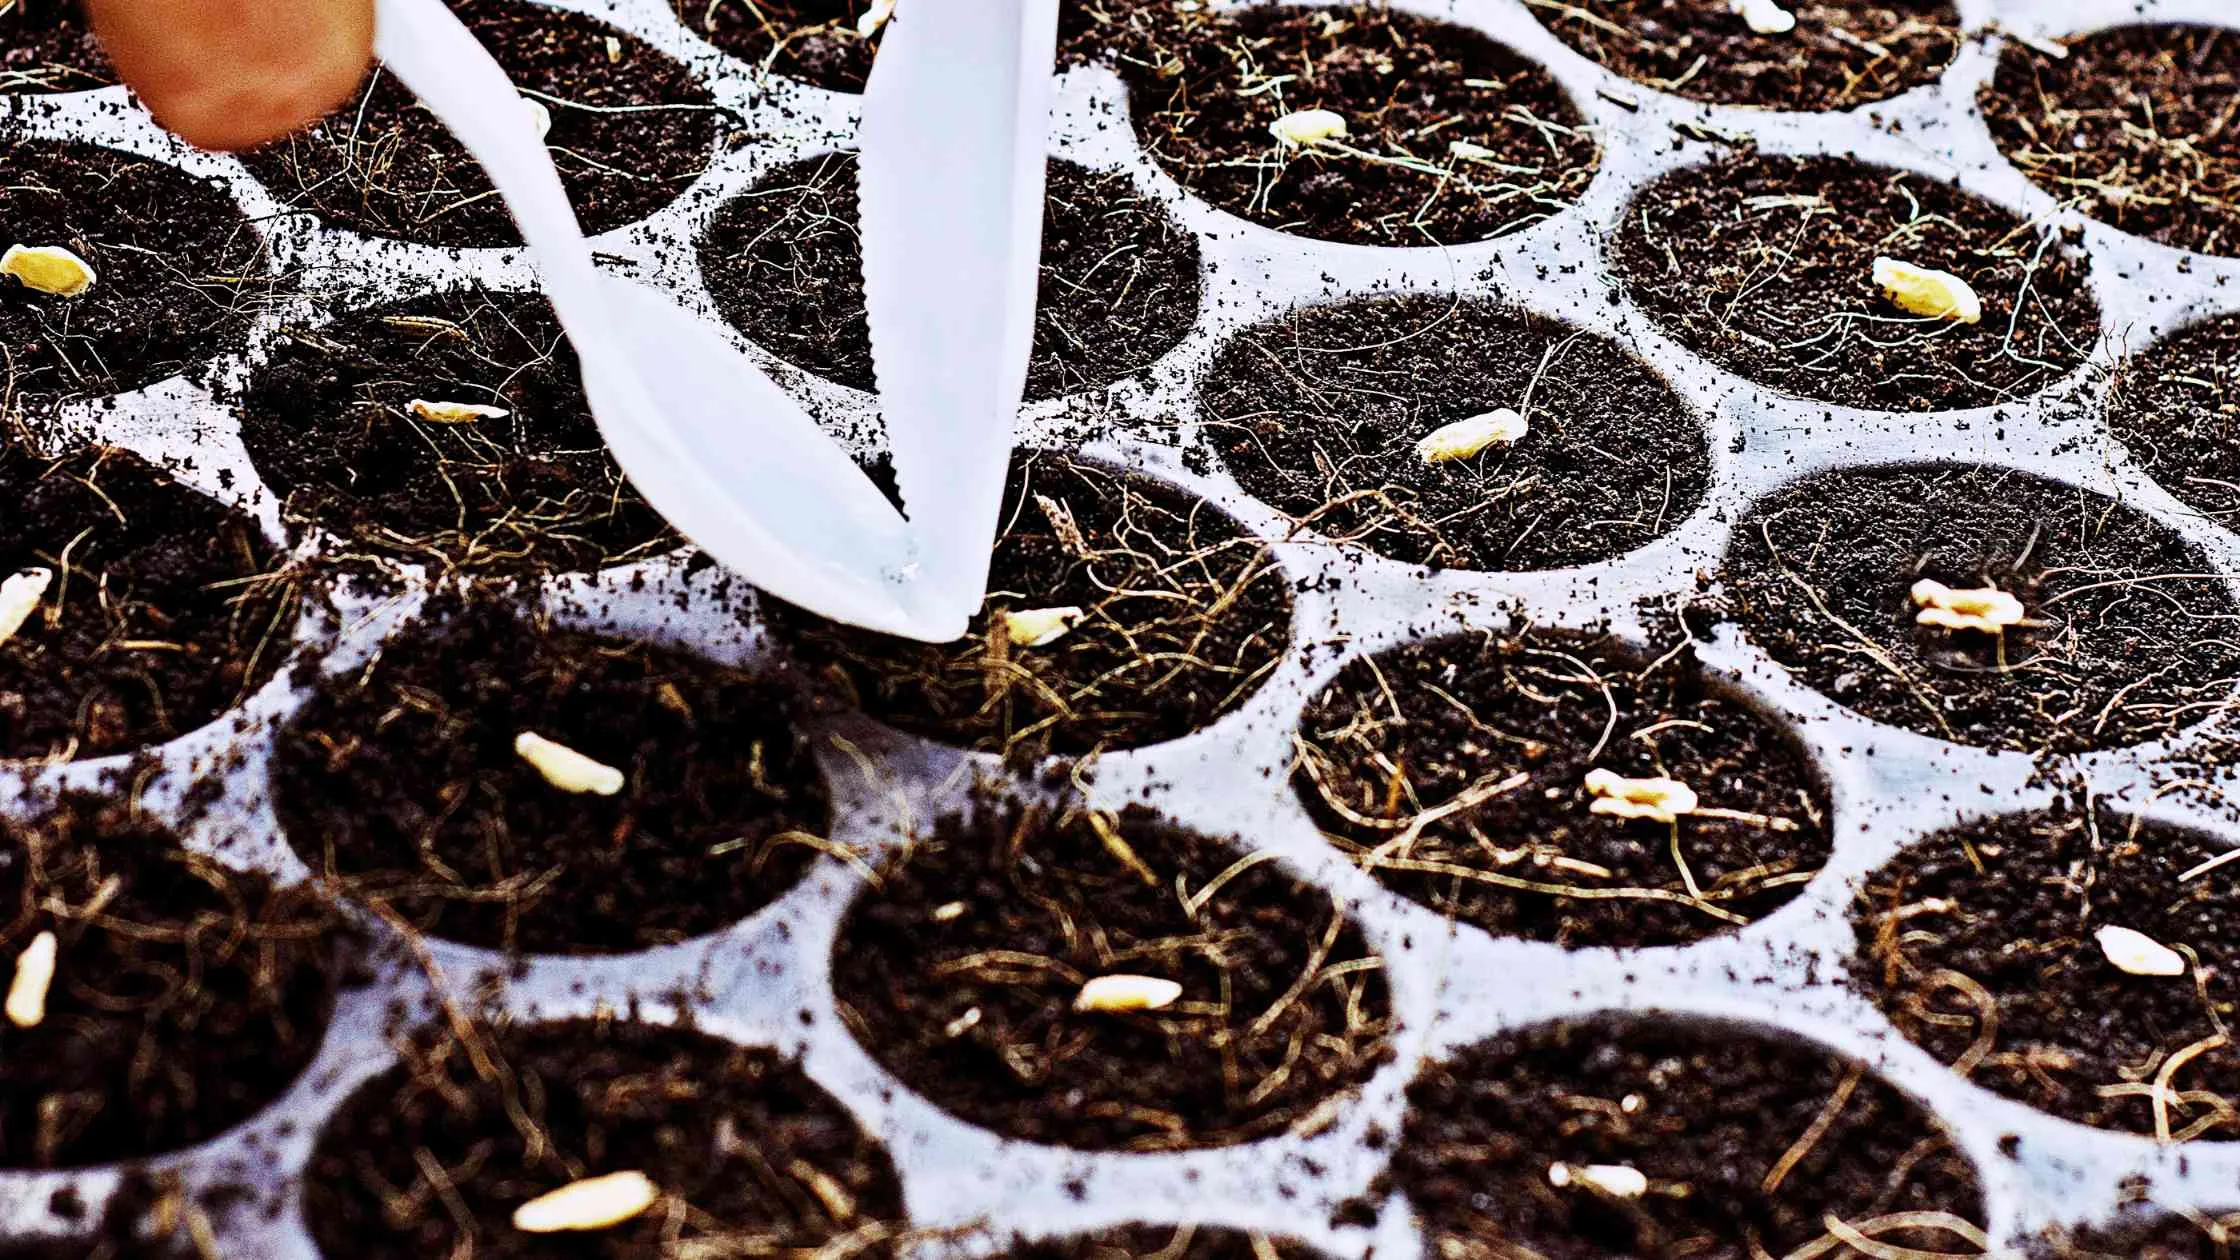
Plant Your Seeds
The next step is planting your seeds. Place 2- 4 seeds on the surface of the seed starting mix. Now, press them down gently so the seeds can settle down in the container smoothly.
In the case of small seeds like basil, lettuce or mustard seeds, you can leave the seeds on the surface of the soil as they are so small and many require light to germinate.
Larger seeds like beans or peas need a dark place for germination. So, they need to be covered. You can use a thick layer (approximately ¼ inch to ½ inch) of the seed starting mix to cover larger seeds completely.
Rule of thumb: Place seeds two to three times their width into the soil in a hole twice their width.
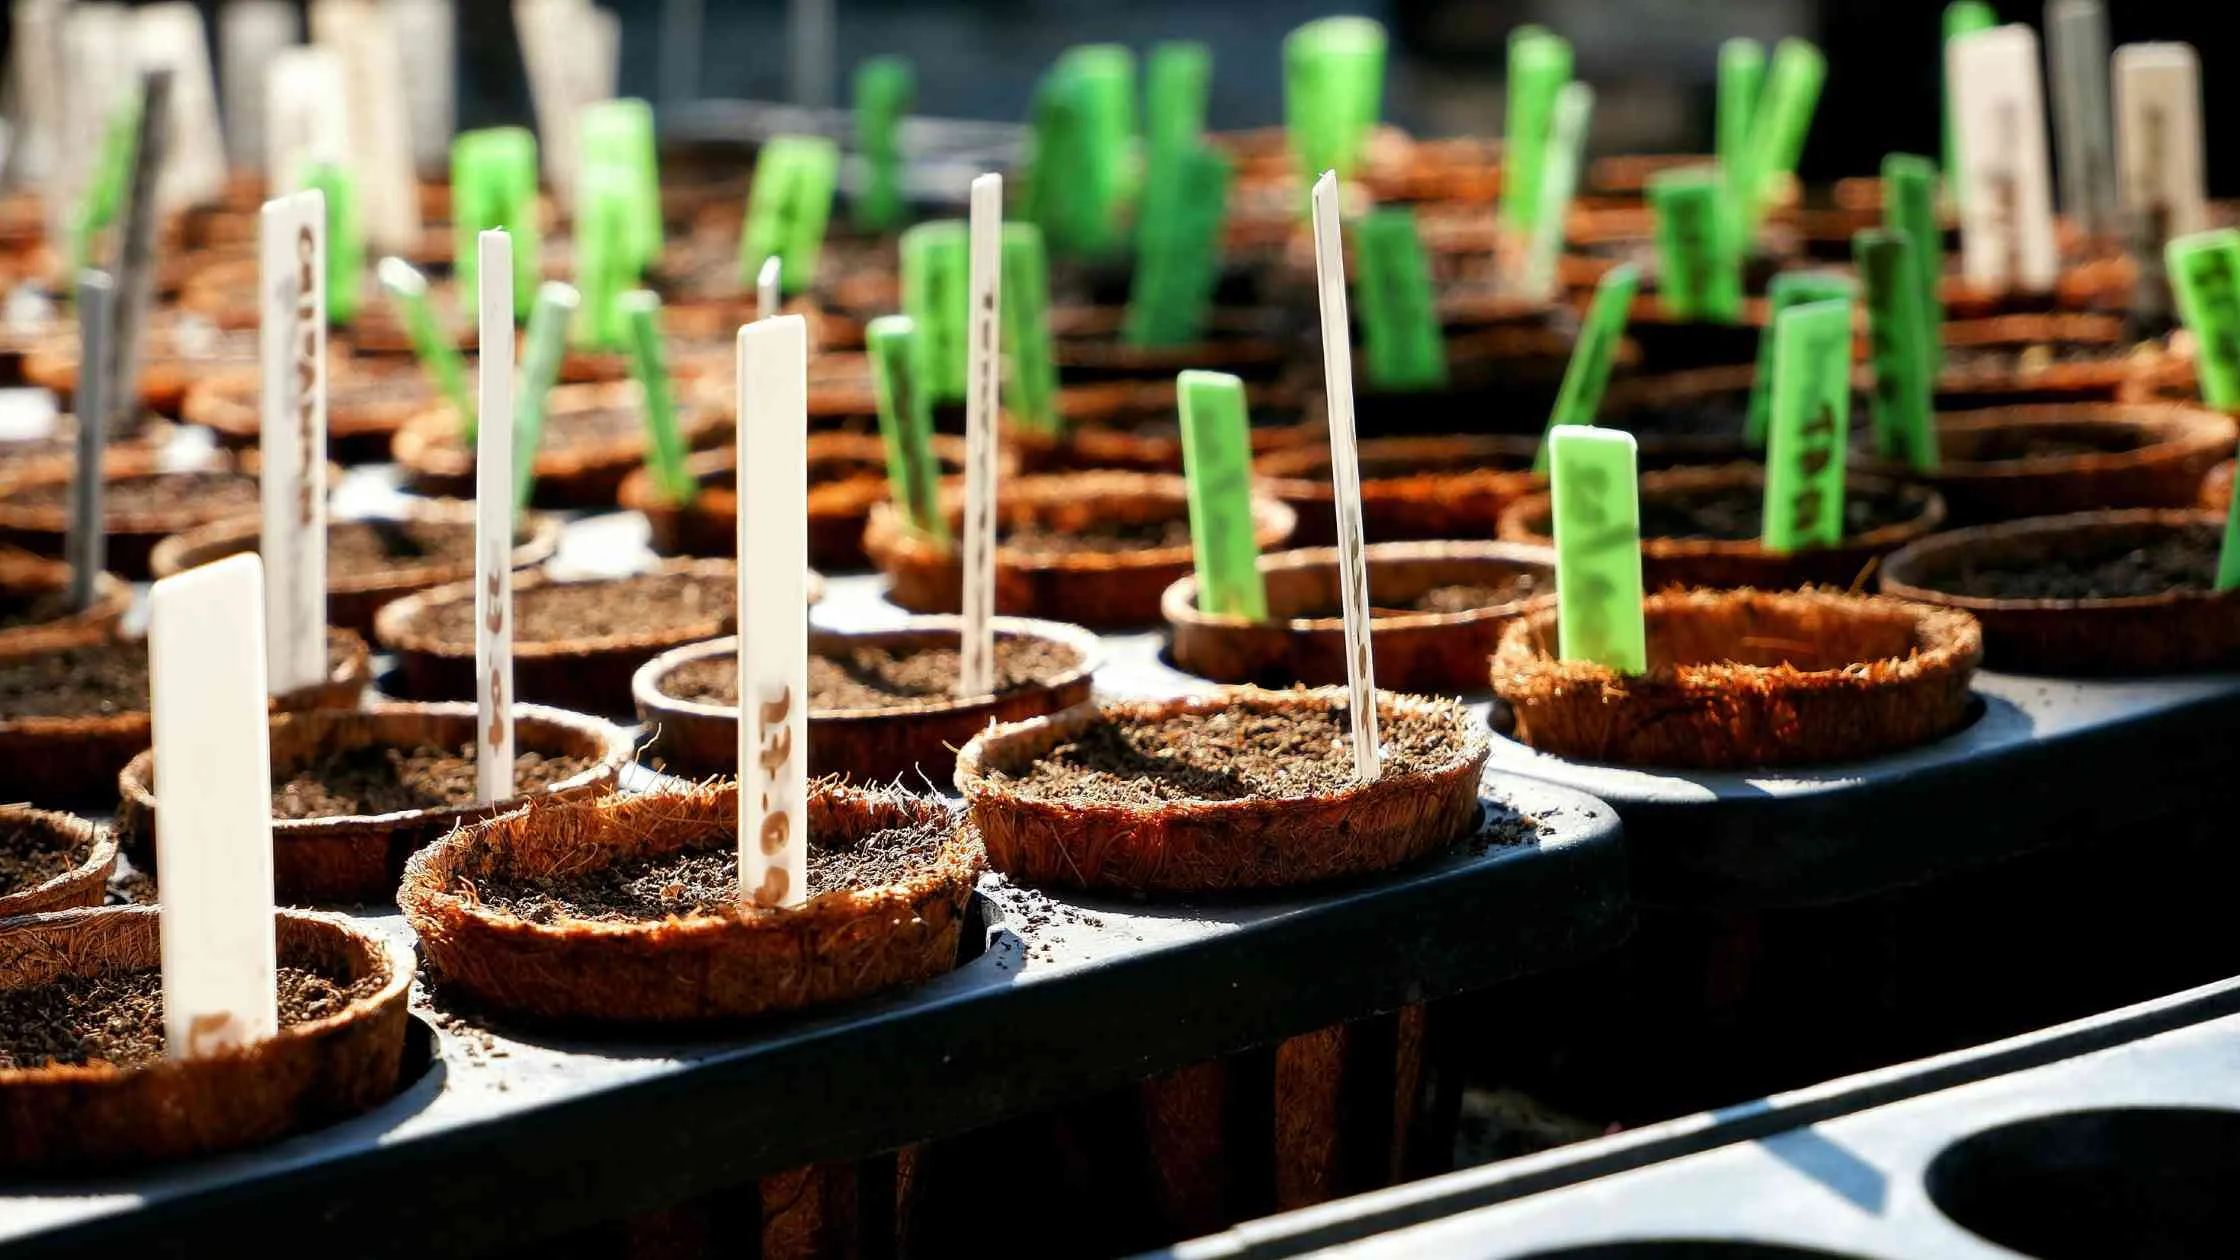
Label Your Seeds
Most seedlings look similar while growing which makes it hard to distinguish between them. Therefore, you need to label each pot to recognize them easily. Label your seeds as you plant them so that you don’t mix them up later.
At the initial stage, you can use plastic plant markers for plant labels and save the metal plant marker for the time when your plants grow bigger. Plastic plant markers are a good choice for seedling labels. They are quite cheap and readily available.
Keep Seeds Moist and Warm
To keep seeds moist and warm, put your pots all together in a seed tray. You can also use a disposable aluminum roasting pan, baking pan, or plastic clamshell. Now, cover the assembled pots using plastic wrap or a humidity dome.
If you want ventilation in the dome, keep the vents open to allow air circulation. The air passage is necessary for the sprouting period.
The young seedlings/sprouts require some air to grow well. Relying on your indoor light to keep the plants warm is not sufficient, so you need to place your seed tray in the warmest place to keep the humidity level low. Low humidity helps the seeds to stay healthy until they sprout.

At this stage, there is no need for watering. In case the mix feels dry on touching, you can spritz the seeds. The seeds will germinate in a few days with little seed hats on some of them.
Due to different factors, germination can take more than the usual time (almost 3 weeks). After sprouting, you can start planting a new batch of seeds.
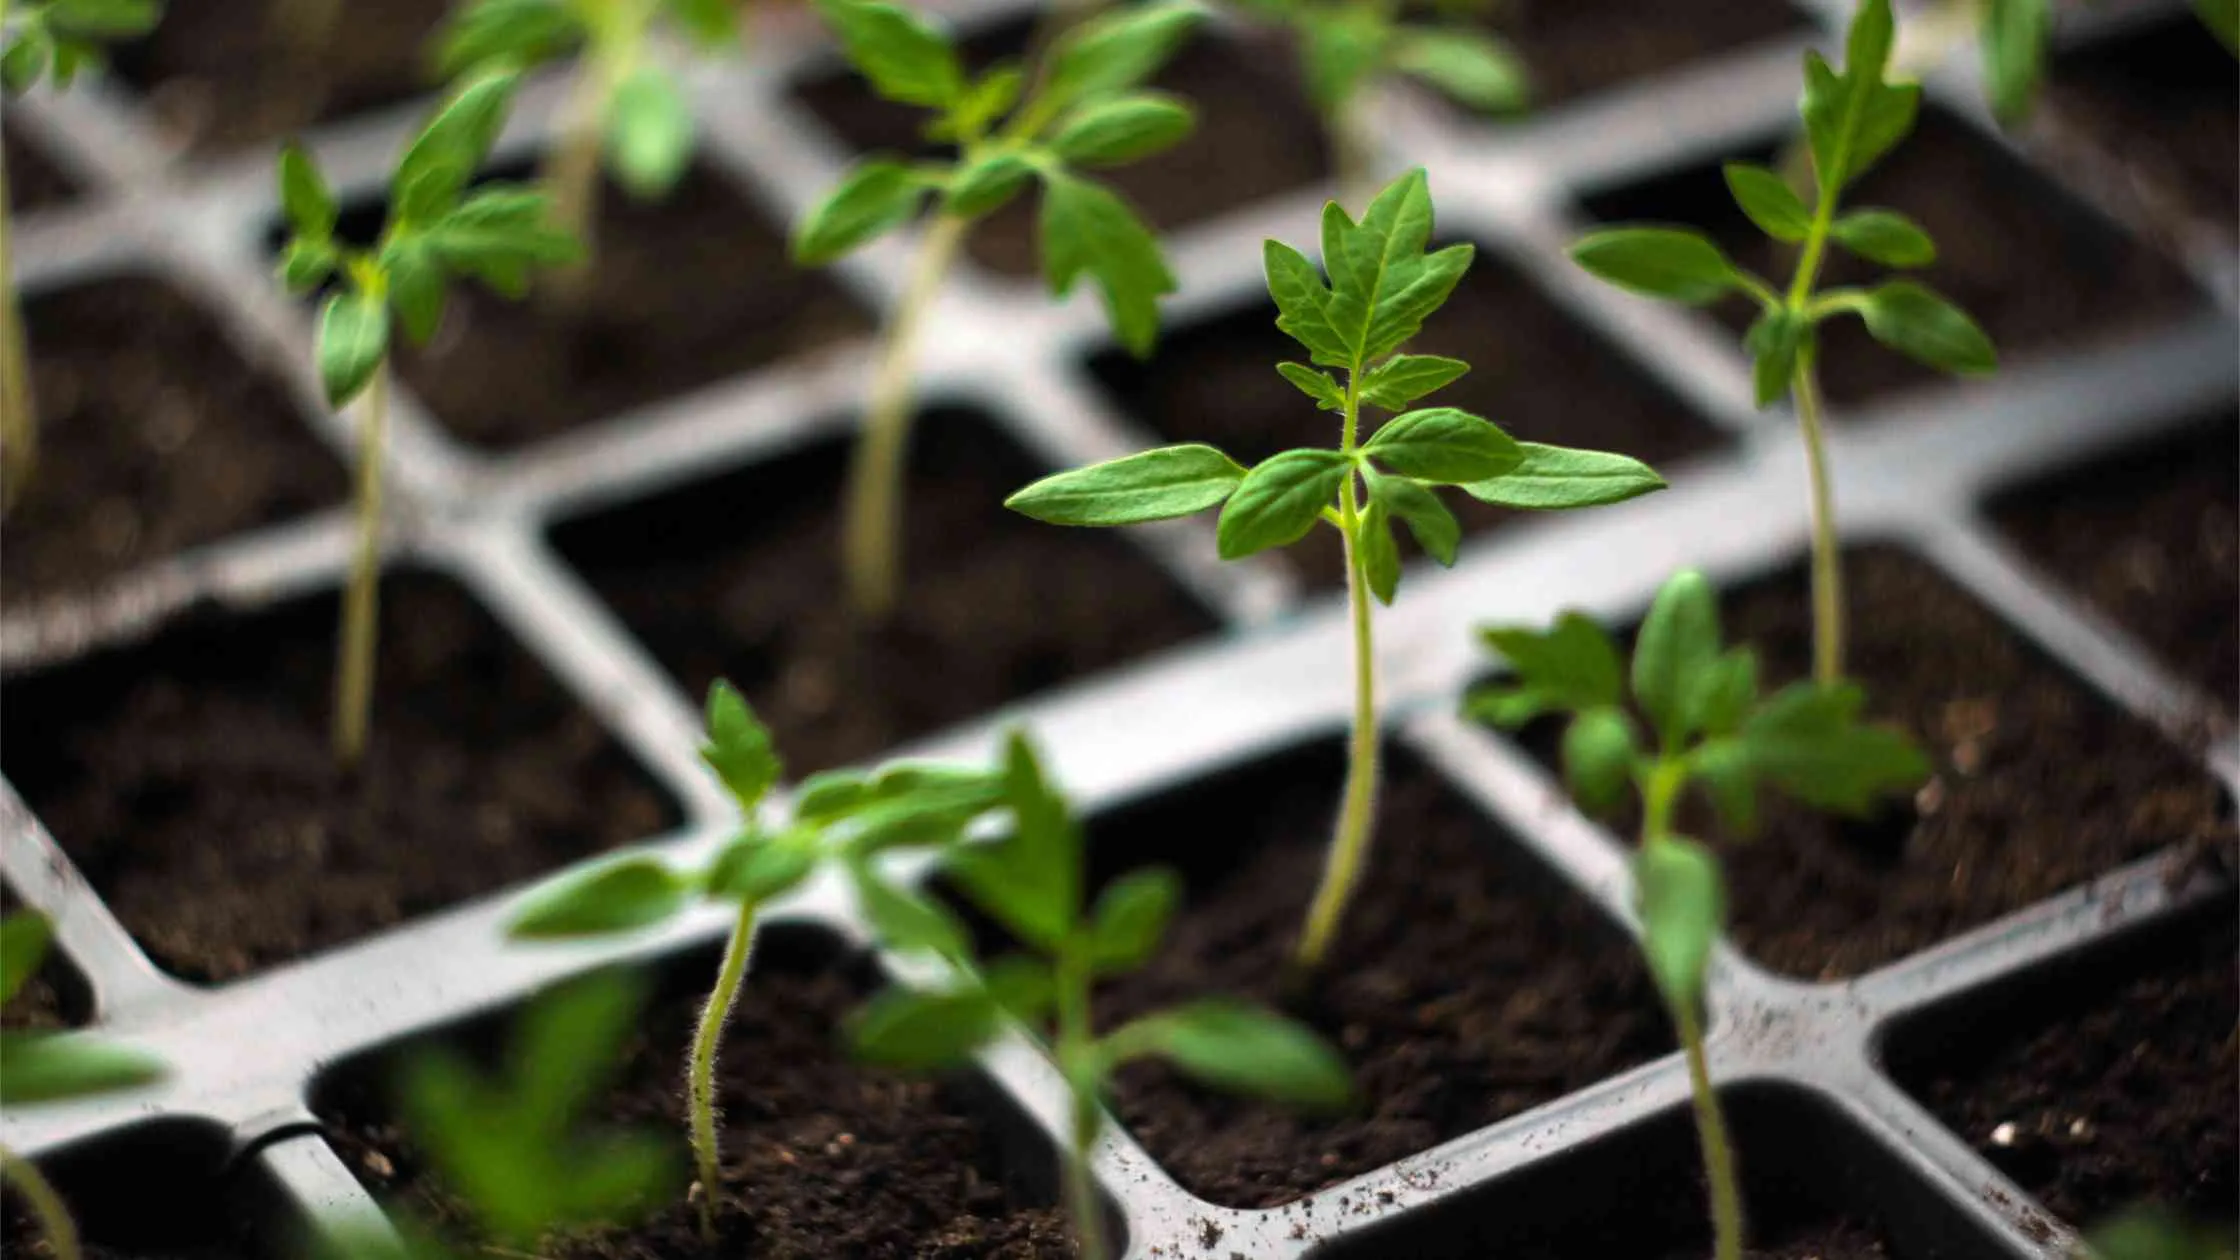
Monitor Your Seedling Growth
Put the container into indirect light. Uncover the container to monitor the newly grown seedling. On emerging, the seedling (two mini leaves) spread out and started to straighten up.
The small leaf-like structure, known as cotyledons, is the food source until the formation of true leaves. When your plants produce true leaves they become capable of photosynthesis. At this stage, place the container in a sunny spot.
Give Your Seedlings Light
After germination, the seedling requires light for healthy growth. Uncover the seed tray and place it near the sunniest spot. This will allow enough light to reach the newly sprouted seedlings for them to begin making their own food through photosynthesis.
Keep Your Seedlings Moist
You need to keep the seedling moist but don’t overwater them. You can water the seedlings once a day or every other day. The roots of seedlings are very close to the surface of the soil so they don’t need a deep soak like large plants. You can use a spray bottle or a squirt bottle to water the seedling.
Before watering the seedling, you also need to keep in mind how much sun and heat they are getting. If there is not much sunlight, too much watering can harm the tender seedlings.
Feed Seedlings
Seedlings don't need to be fertilized until they reach 3 inches in length. After that, you can fertilize them weekly. All-purpose water-soluble fertilizer is ideal to feed your seedlings. It is packed with all the essential nutrients and minerals that are essential for seedlings.
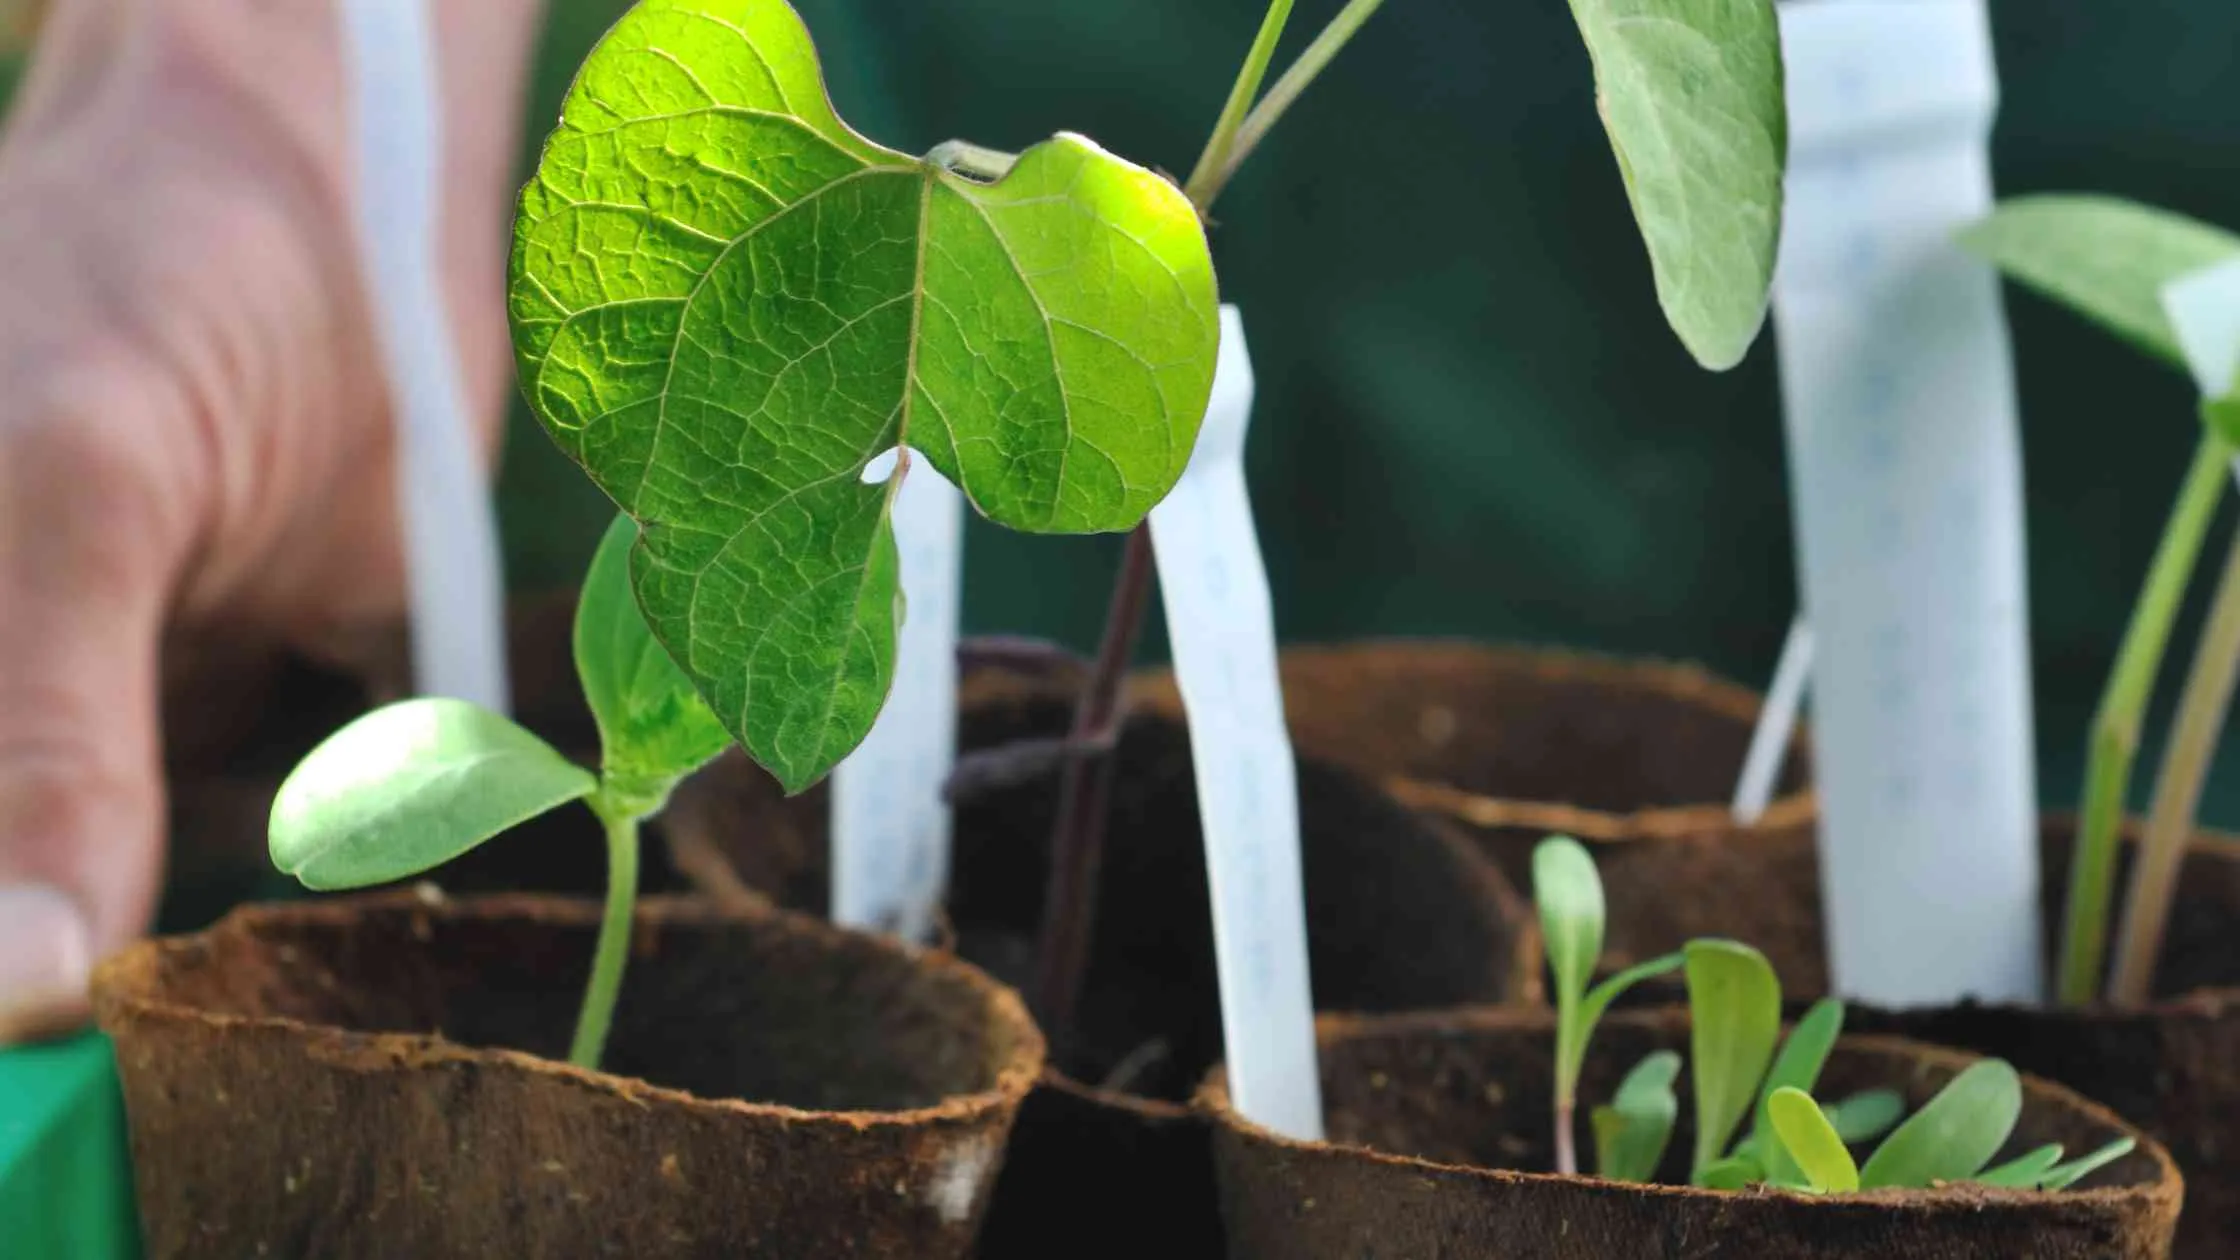
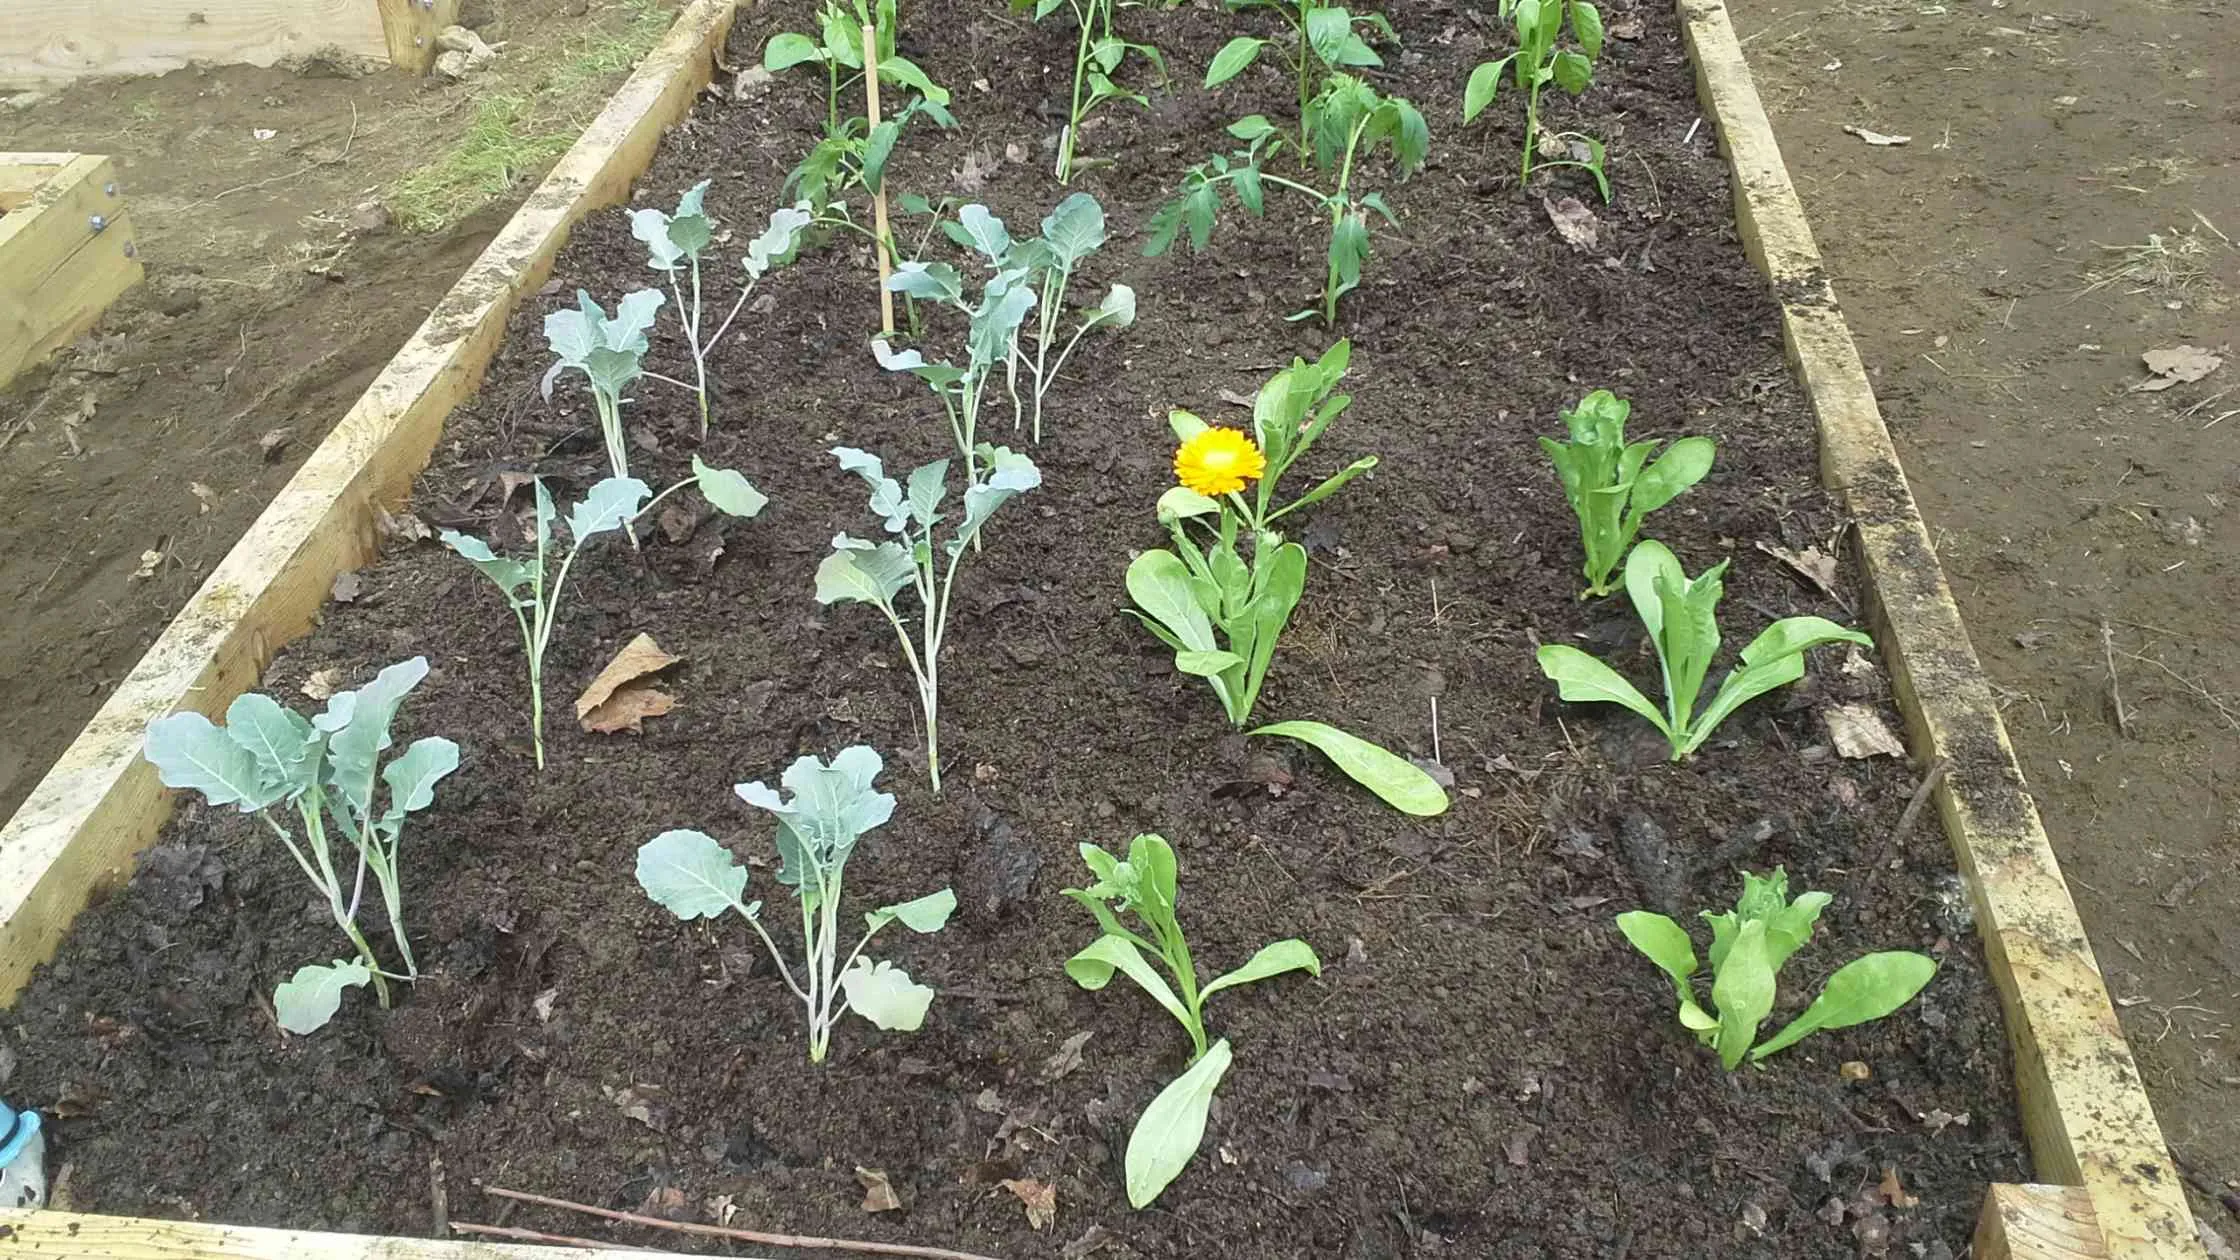
Transplanting Your Seedlings
After your seedling develops the first set of true leaves, it is time for transplantation. If more than one seed has sprouted in the cell or container, choose the strongest one to keep and prune the others. You can also use all of them but make sure to separate their roots.
When transplanting, use a large container and fill it with the potting mix. Hold the seedlings with the leaves and handle the tiny roots gently. Now, wet the potting mix thoroughly using a diluted solution of compost tea. You can also use all-purpose fertilizer but it should be simple and organic.
At this stage, favorable conditions are necessary for proper growth. So, provide the seedlings with sufficient sunlight every day.
Harden Off Seedlings
If you want your seedlings to thrive outdoors, hardening off is an important step. To harden off seedlings, you need to move them outside under diffused sunlight for some time and then bring them inside during the night.
After a few days, move the seedlings from diffused sunlight to partial sun and then to full sun. Similarly, increase the time your seedlings spend outdoors until finally, you keep them outside all night. This practice helps the seedling get used to the outdoors.
Transplant Outdoors
Once your seedling hardens off, you can transplant your seedling outdoors. The final destination of the seedlings can either be a larger container or your garden.
FAQs
How Many Seeds Do You Plant Per Cell?
Ideally, and depending on container size, you can sow three to five seeds per cell. In the case of larger leaves, two to three seeds should be sown per cell. If you sow more than the recommended amount, things can become very challenging and you will find it quite hard to nurture the seedling when they grow.
Moreover, it is also better to cut off the weaker seedlings to easily nurture the stronger ones.
What If My Seeds Need Light?
Almost all seeds need an adequate amount of light for germination. But they also need to stay in contact with the seed starting medium. Therefore, you should avoid covering the seeds completely with the starting mix.
For ideal conditions, you need to press the soil medium gently to make the surface hard. Now, place those seeds on top of the medium and press them down gently. Make sure that some part of the seed is exposed out of the soil to attain a sufficient amount of light.
When To Start Seeds Indoors?
Although most packets contain all the instructions and guidelines regarding the time to start seeds indoors, the ideal period is six to eight weeks before the last expected frost.
You can browse the internet to find the date of expected frost in your area. Then count backward to about eight weeks and that's the time to start seeds indoors.
Depending on the type, several plants can become ready to place outdoors 4 to 6 weeks after starting seeds.
Do Seed Starts Need Fertilizer?
No, seedlings don't require any organic or chemical fertilizer until sprouting. This is because the nutrients they require are naturally packed in the seed embryo.
The first true set of leaves also doesn't need to be put in the mix with any additional fertilizer.
Other Ways To Start Seeds
There are many ways to start seeds indoors. Some of the easiest ways to start seeds indoors that also save your time and money include:
- Using newspaper seed starter pots
- Reuse seed trays
- Use snail pots
- Use damp paper towel or napkins
- Make seed paper
- Starts seeds in eggshells
- Starts seeds in old milk and juices jugs
- Recycle the lunch container as a seed tray
How To Soak Seeds To Speed Germination?
The germination process of some seeds can take longer than usual. Soaking such seeds can speed up the process. Soaking softens the upper protective coat of leaves which helps to accelerate germination.
This method is beneficial for the producers of seeds like beets, chard, peas, and parsley. You only need to soak the seeds in water for 4 to 24 hours until the protective coat is removed. After that, sow the seeds immediately.
Some hard-coated seeds such as morning glory, chard, beets, and okra can germinate after being soaked before planting but no longer than 24 hours to avoid the risk of rotting.
It is also important to know that not all seeds need to be pre-soaked. For instance seeds of tomatoes, eggplant and peppers don't require pre-soaking. Read the seed packets to know which seeds need to be pre-soaked before planting.
Final Thoughts
Starting seeds indoors is not a difficult task. Anyone who follows these simple guidelines can start their seeds without any external help. There is no need to be spending money purchasing fancy equipment. You can gather all the supplies for your garden kit and start seeds indoors today.
Popular Posts

Charmion Brathwaite
Founder
Charmion is a working mom and wife with a love for nature. As a home gardener, she is sharing what she’s learned about small space gardening and helping you create beautiful kitchen gardens. Learn more